
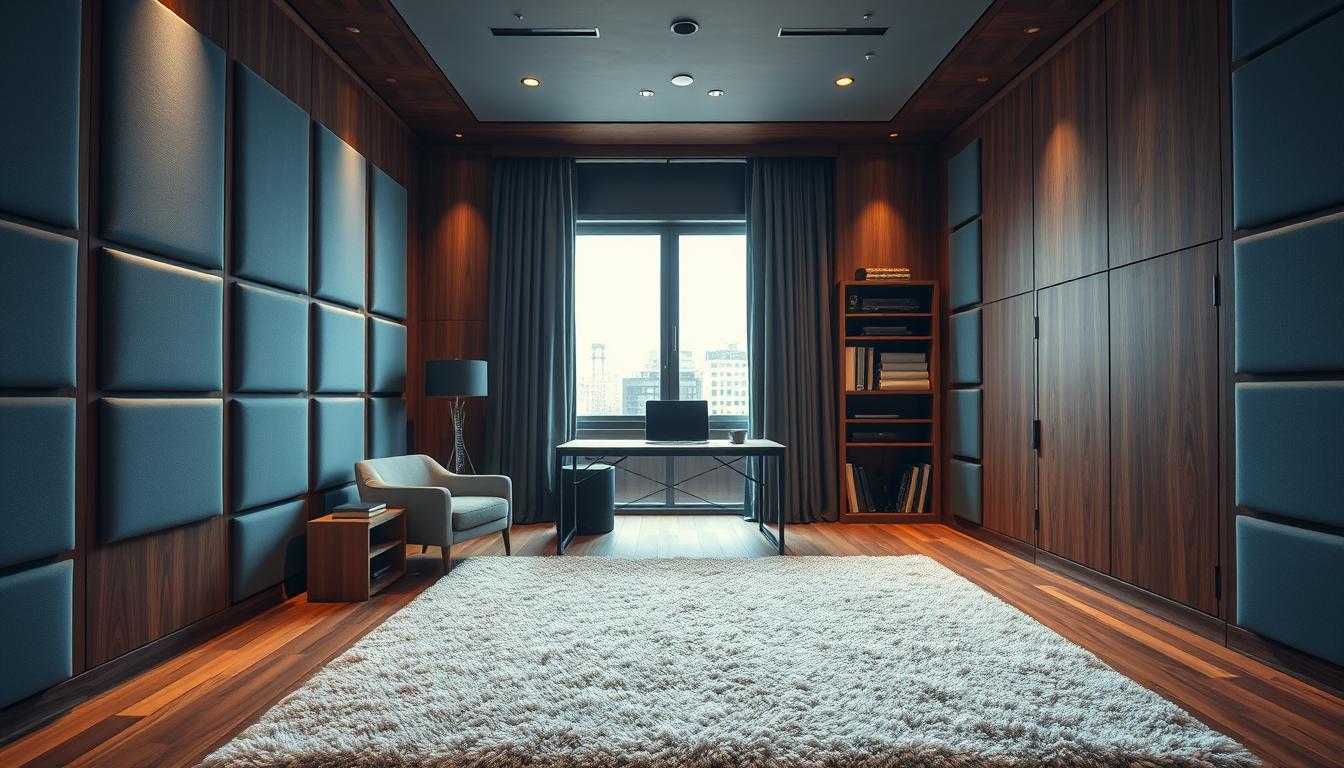
Did you know that unwanted noise can raise stress by nearly 30% at home? We often don’t realize how much outside noise affects our calm and focus.
To create a quiet space, thick curtains or foam panels aren’t enough. True soundproof room design needs solid structure and mass to block vibrations well.
Whether it’s for a home office or a professional studio, the rules are the same. We must make walls decouple and seal air gaps to stop noise leaks.
In this guide, we’ll show you how to turn any area into a peaceful spot. Follow our expert tips to learn how to block out sound.
Key Takeaways
- Structural mass is key to blocking outside noise.
- Decoupling surfaces stop vibrations from moving through materials.
- Sealing air gaps is crucial because sound leaks through tiny openings.
- Professional results need careful planning before starting.
- Good isolation makes a space perfect for work and play.
Understanding Soundproofing Basics
To create a quiet space, we need to understand sound control basics. Many people mix up simple noise reduction with true soundproofing. Knowing the science behind it helps us make smart choices for our homes.
What is Soundproofing?
Soundproofing stops sound from getting in or out of a room. It’s different from acoustic treatment, which makes a room sound better by reducing echoes. Soundproofing blocks noise completely, while treatment just improves sound quality.
We use four main methods to block sound. These are decoupling, absorption, mass, and damping. Using these together is crucial for success.
How Sound Travels
Sound travels in two main ways: through the air and through solid objects. Airborne noise, like voices or music, goes through gaps like door cracks. Structure-borne noise, like footsteps, goes through solid materials like floors or walls.
To block sound well, we must tackle both air and solid paths. Sealing gaps isn’t enough; we need to block vibrations too. This means creating a full barrier for both air and solid parts of our rooms.
Types of Sound Waves
Different sounds travel in different ways. Low-frequency sounds, like a truck rumble, go through walls easily. High-frequency sounds, like a whistle, are harder to block.
Knowing this helps us focus on the right sounds to block. By picking the right materials, we make our homes quieter and more comfortable. Precision in our planning is key to a peaceful living space.
Importance of Soundproof Room Design
Achieving a peaceful home starts with a smart plan for interior soundproofing. We often overlook how much outside noise affects our stress and well-being. By using effective residential soundproofing, we can turn noisy areas into peaceful spaces.
Benefits for Homeowners
Improving your home’s acoustics adds real value. It not only makes your home quieter but also boosts its resale value. With the right sound insulation techniques, your home stays a quiet retreat, no matter what’s happening outside.
Applications in Music and Media
For music and movie lovers, a dedicated room is key. Achieving top-notch sound quality depends on managing sound well. Whether it’s a home theater or recording studio, controlling sound is crucial.
Enhancing Privacy and Focus
With more people working from home, focus is vital. A quiet room helps you concentrate better, leading to more productivity and less stress. By using advanced sound insulation techniques, we protect our work and personal lives from distractions.
| Benefit Category | Primary Impact | Key Advantage |
|---|---|---|
| Home Value | Market Appeal | Higher Resale Potential |
| Productivity | Deep Concentration | Reduced Mental Fatigue |
| Media Quality | Acoustic Clarity | Professional Sound Experience |
| Privacy | Noise Isolation | Enhanced Personal Comfort |
Choosing to focus on residential soundproofing is about taking back your space. When we design with sound in mind, we create spaces that meet our needs for years. This focus on quality makes your home a place of peace and inspiration.
Key Materials for Soundproofing
The success of soundproofing projects often depends on the materials used. Choosing the right materials is key to any noise reduction solutions plan. Whether it’s a home theater or a professional office, knowing how products affect sound is crucial.
“The most effective way to stop sound is to combine mass, damping, and decoupling in a single assembly.”
Acoustic Panels
Acoustic panels help absorb sound reflections in a room. They don’t block sound from entering or leaving but are essential for improving internal clarity. Use them in areas where echo and reverberation affect audio quality.
Mass Loaded Vinyl
Mass Loaded Vinyl, or MLV, is a dense, flexible material that blocks airborne noise. It acts as a barrier that stops sound waves from passing through walls and ceilings. For commercial soundproofing, adding MLV to walls provides the needed density to block low-frequency sounds.
For better results, use 5/8″ drywall instead of thinner options. The extra mass improves the structure’s ability to block sound. Adding Green Glue helps eliminate vibrations that standard barriers can’t stop.
Resilient Channels
Resilient channels are metal strips that decouple drywall from wall studs. They break the physical connection, stopping sound vibrations from passing through the structure. This is a key step in high-performance soundproofing materials installation.
- Decoupling: Essential for stopping impact noise.
- Damping: Uses compounds to turn vibration into heat.
- Mass: Heavy materials like 5/8″ drywall block sound transmission.
When planning your project, remember that commercial soundproofing standards often require a mix of these techniques. By combining these noise reduction solutions, you create a strong barrier. This ensures long-term privacy and comfort in any setting.
Designing Your Soundproof Room Layout
The layout of your room is key to a good soundproof room design. Before buying materials, check how the space handles sound. A smart layout stops sound from bouncing around and makes a quiet space.
Room Shape Considerations
The shape of your walls affects sound waves. Parallel walls can cause echoes or loud bass. To avoid this, use double wall systems when you can.
Double wall systems block sound well by breaking the structure. Deeper walls with more air space are great for low sounds. This setup makes a strong barrier against noise.
Placing Furniture Strategically
After setting up the room, furniture is your last defense. Heavy, upholstered items in corners catch sound waves. Strategic placement turns your furniture into sound tools.
Here’s a table to see how layout choices help with soundproofing:
| Layout Element | Primary Benefit | Impact Level |
|---|---|---|
| Double Wall Systems | Low-frequency isolation | High |
| Corner Bookcases | Bass trapping | Medium |
| Heavy Curtains | Reflection reduction | Medium |
| Wall-to-Wall Carpeting | Impact noise dampening | High |
By mixing structural changes with smart furniture, you’ll get a great soundproof room design. This method tackles both airborne and structural sounds. Planning your layout saves time and effort later.
Identifying Noise Sources
To make a space quiet, we must find out where noise comes from. Before we start any work, we need to know what’s making the noise. This step helps us focus our interior soundproofing efforts where they’ll do the most good.
Common Household Noises
Every home has its own sound profile. We often miss the small noises that make a room loud, like creaks or humming appliances. Spotting these sounds is key to designing a soundproof room.
Keep a log of these noises for a few days. This helps us figure out if the noise is carried through the air or through objects. Knowing this helps us pick the right materials for interior soundproofing.
Analyzing Sound Reflection Points
Sound waves act like light, bouncing off surfaces and making echoes. By finding these points, we can see where sound is coming in or going out. We look for areas where sound tends to gather, like corners or big walls.
To handle these reflections, use this checklist:
- Identify hard surfaces: Find glass, tile, or hardwood that makes sound bounce.
- Check for air gaps: Look at door frames and window seals for air leaks, as sound follows air.
- Evaluate structural paths: See if vibrations are moving through wall studs or ceiling joists.
After mapping these areas, we can use specific interior soundproofing methods to reduce sound. This careful approach helps us avoid wasting effort on walls that don’t really need it. Being precise is crucial for a quiet, peaceful space that lasts.
Planning the Soundproofing Process
We think a good plan is key to making your home super quiet. Before you start, check your space to get the best results. A clear plan helps you avoid mistakes and keeps your focus on your goals.

Assessing Your Space
Start by looking closely at your room to find where sound gets in or out. Look for air leaks around doors, windows, and outlets. Knowing your walls and floors well is also important for choosing the right steps.
Think about these things during your check:
- Identify primary noise sources: See if the sound is in the air or through structures.
- Measure room dimensions: Right measurements help you buy the right stuff.
- Evaluate existing barriers: See if your walls need more mass or need to be decoupled.
Budgeting for Soundproofing Materials
Good budgeting means spending wisely on key areas. Focus on spots like entryways and windows, where noise control products make a big difference. This way, you get the most bang for your buck.
Here’s how to spend your money for the best sound:
| Area | Priority Level | Recommended Solution |
|---|---|---|
| Doors | High | Door seals and sweeps |
| Windows | High | Acoustic inserts or heavy curtains |
| Walls | Medium | Acoustic panels and mass loaded vinyl |
| Floors | Low | Thick rugs or underlayment |
When picking soundproofing materials, compare cost to decibel drop. It’s smarter to spend on quality noise control products for one wall than to spread it thin. This way, you get the quiet you want without going over budget.
Installing Soundproofing Solutions
Starting to reduce noise begins with deciding who will do the work. You need to think about your skills and the project’s complexity. This ensures your home gets the best results.
DIY vs. Professional Installation
Deciding between DIY and a pro depends on your budget and the project’s size. DIY saves money and lets you learn sound insulation techniques yourself. But, pros have the experience and tools to avoid mistakes.
Experts are great for big projects like structural changes or complex wiring. Their skills ensure safety and top sound quality.
| Feature | DIY Installation | Professional Help |
|---|---|---|
| Cost | Low (Labor is free) | High (Labor fees apply) |
| Time Required | High (Learning curve) | Low (Efficient workflow) |
| Precision | Variable | High (Guaranteed) |
| Complexity | Best for simple tasks | Best for structural work |
Step-by-Step Installation Guide
Success depends on careful attention to detail, no matter who does the work. A small gap can let up to 30% of sound through. Sealing is key.
“The difference between a quiet room and a noisy one often lies in the smallest of gaps. Precision is not just a goal; it is a requirement for true acoustic isolation.”
To get professional results, follow these sound insulation techniques:
- Seal all perimeter gaps: Use high-quality acoustic sealant around the edges of walls, floors, and ceilings.
- Install door sweeps: A heavy-duty door sweep prevents sound from escaping through the gap under your door.
- Check electrical outlets: Use putty pads behind outlet boxes to stop sound from traveling through wall cavities.
- Apply mass loaded vinyl: Ensure all seams are overlapped and taped tightly to create a continuous barrier.
By focusing on these noise reduction solutions, you create a tight space that blocks unwanted noise. Even the most expensive materials won’t work if not sealed properly.
Creative Soundproof Room Ideas
Turning a room into a quiet space is a chance to mix art and sound control. We often see soundproofing as just a technical task. But, interior soundproofing can also be a way to show off your design style.
By thinking creatively, you can keep your room quiet without losing its beauty. Adding sound-dampening materials to your decor makes your space both professional and cozy.
Home Studio Innovations
Modern home studios need top-notch acoustic treatment for clear recordings. Instead of foam, try fabric-wrapped panels that also act as wall art.
Local artists can print designs on fabric that’s clear to sound. This makes your studio both functional and stylish.
“Design is not just what it looks like and feels like. Design is how it works.”
Themed Soundproof Spaces
For a home theater or reading nook, your interior soundproofing can be hidden. For a classic library look, use heavy velvet curtains and thick rugs to soak up sound.
These items not only treat sound but also make the room cozy. You can also hide mass-loaded vinyl behind decorative panels or bookshelves. This keeps the room soundproof without changing its look.
Choosing furniture that blocks sound and looks good is key. Big, comfy chairs can act as natural sound barriers. This way, you create a quiet and beautiful space.
Maintaining Your Soundproof Room
After setting up your soundproof room, keeping it in top shape is key. Even the best acoustic treatment needs regular checks to stay effective. By staying on top of maintenance, you can catch small problems before they become big ones.
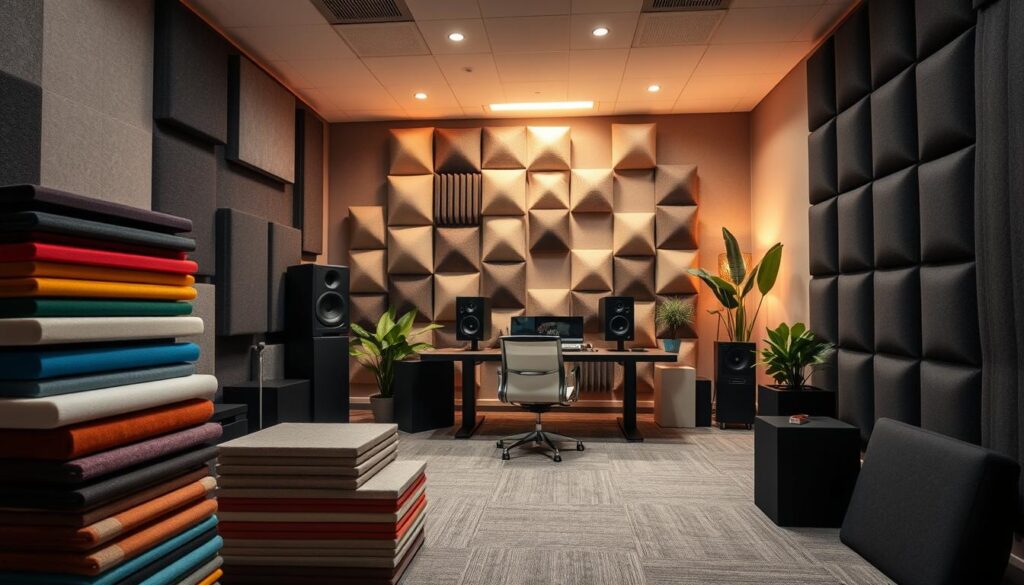
Routine Checks and Upkeep
Do a visual check of your room twice a year. Pay special attention to doors and windows, as they wear out faster. Look for gaps in weatherstripping or door seals.
Pay attention to how sounds change in your room. If outside noise gets louder, your acoustic treatment might need fixing. Keeping a log of these checks helps you see when materials need replacing.
Updating Old Materials
Even top-notch soundproofing parts can wear out over time. If your door sweeps or acoustic panels are showing signs of wear, it’s time for a swap. Replacing old materials keeps your room soundproof and saves money in the long run.
Don’t wait for sound leaks to get bad before fixing them. Keeping your seals and wall treatments up to date keeps your space quiet. A little maintenance now saves you from costly fixes later.
| Component | Inspection Frequency | Action Required |
|---|---|---|
| Door Seals | Every 6 Months | Replace if cracked |
| Acoustic Panels | Annually | Check for sagging |
| Window Inserts | Every 6 Months | Tighten mounting hardware |
Overcoming Common Soundproofing Challenges
Creating a quiet space is not always easy. Even with a good plan, you might face unexpected problems. These can harm your residential soundproofing efforts. Spotting these issues early helps us use the right noise control products to fix them.
Dealing with Air Gaps
Sound is like water; it can pass through tiny openings. Air gaps around doors, windows, and outlets are common sound leaks. We suggest using top-notch acoustic sealants to seal these gaps for good.
Adding heavy-duty door sweeps and weatherstripping also helps a lot. These simple steps keep your room tight, which is key for residential soundproofing. Remember, a well-sealed room is crucial for silence.
Handling Structural Vibrations
Structural vibrations can move through a building, getting past regular insulation. To stop this, we need to separate wall surfaces from studs. Resilient channels, thin metal rails, do this by detaching walls from studs to absorb sound energy.
Using these channels stops sound from moving through the frame. We also recommend adding noise control products like mass-loaded vinyl to walls. This adds weight and dampens impact noise, keeping your space quiet.
| Challenge | Primary Cause | Recommended Solution |
|---|---|---|
| Air Leaks | Gaps in doors or outlets | Acoustic sealant and gaskets |
| Flanking Noise | Structural connections | Resilient channels |
| Impact Vibrations | Rigid wall framing | Mass-loaded vinyl |
| Door Sound Leak | Poor seal at floor | Automatic door sweeps |
Utilizing Technology in Soundproofing
Modern technology gives us powerful tools to improve our home soundproofing. Physical barriers are still key, but digital tools offer noise reduction solutions that work instantly. These systems help us control sound better than ever before.
Smart Home Solutions
Smart homes let us control our environment and sound levels easily. Many use smart curtains and window treatments that block sound. These noise control products can be set to close when it’s noisy outside.
Smart white noise machines and sound-masking systems can also be connected to your home network. They adjust their sound based on outside noise. This dynamic approach keeps your space quiet all day.
Soundproofing Apps and Tools
It’s important to check how well your soundproofing works. Use apps to measure sound and find leaks. These tools give data-driven insights to help you find sound entry points.
Decibel meter apps let you test your soundproofing like a pro. They show how sound levels change with new insulation or sealed gaps. Here are some top digital tools for sound management.
| Tool Category | Primary Function | Best For |
|---|---|---|
| Decibel Meter Apps | Measure sound pressure levels | Initial noise assessment |
| Spectrum Analyzers | Visualize frequency ranges | Identifying bass vibrations |
| Smart Home Hubs | Automate noise control products | Real-time environment management |
| Acoustic Modeling Software | Predict sound behavior | Planning complex room layouts |
Future Trends in Soundproof Room Design
The world of sound control is moving towards smarter, greener options. High-performance soundproof rooms are becoming a must-have in modern homes, not just a luxury.
Innovations on the Horizon
Engineers are working on smart materials that adjust to noise levels automatically. These new materials are inspired by commercial soundproofing. They promise better isolation for home offices and media rooms. Soon, these tools will be easy for anyone to use.
Sustainability in Soundproofing Materials
Green manufacturing is transforming soundproofing. New materials use recycled fibers and bio-based composites. They offer the same quality as traditional options but are better for the planet.
Start making your home quieter today. Choose the right materials and keep up with new tech. This way, you create a peaceful space for your family and work.